Yoghurt making is one of the unique add-on features on our Sakura rice cooker, this setting takes all of the hard work out of producing perfect, creamy, tasty yoghurt. The best thing is, there is no added sugar in homemade yoghurt so you know exactly what you are eating.
The key thing about yoghurt making is being able to keep a constant (correct) temperature – Sakura being a rice cooker is ideally suited to have yoghurt making as an add-on feature. The yoghurt setting on Sakura maintains the constant temperature (+38 – +40°С) required for bifidus bacteria growth and excellent development of yoghurt out of yoghurt culture and milk. Doing this yourself without an appliance to help keep that constant temperature is very difficult.
The yoghurt setting can be used to create tasty yoghurt made from cow’s milk and yoghurt starter or for dairy allergies or lactose intolerance you can use your favourite non-dairy milk and yoghurt starter instead.
The making of the yoghurt couldn’t be easier, you simply need:
- 90g of plain, live yoghurt (if you want to use probiotic yoghurt, this is ok too)
- 400ml of full fat milk (UHT is best – see additional notes below)
Combine the yoghurt and the milk together and place in the inner bowl of Sakura. Close the lid and select the yoghurt setting – the clock will flash on 8 hours. You can reduce the cooking time down to 6 hours or up to 12 hours; the longer the cooking time, the thicker the yoghurt, the shorter the cooking time, the thinner the yoghurt. Keeping the cooking time at 8 hours produced a perfect consistency yoghurt. After cooking, Sakura will beep but won’t switch to keep warm. Allow the yoghurt to cool and decant into containers to keep in the fridge. This yoghurt should last 7 days and you can save some of this yoghurt to make your next batch (best used within 7 days for this, so the bacteria is fresher).
Some tips:
- You can use yoghurt pots instead if you prefer, if you do this then fill the inner bowl to half way up the pots with hot water so the water conducts the heat to the pots.
- Using semi-skimmed milk will produce a thinner yoghurt as it has more water content than full fat milk
- For non-dairy yoghurts, use a milk which has as few additives as possible (e.g. soy milk without sugar or vanilla, just soy beans and water should be listed on the ingredients). You can also use a probiotic starter capsules instead of a pot of non-dairy yoghurt.
Adding flavour after the yoghurt is ready – the sky’s the limit:
Always add flavour after the yoghurt has cooked, if you are retaining some to use as your next starter, set this aside in a separate pot before you add anything else to the yoghurt.
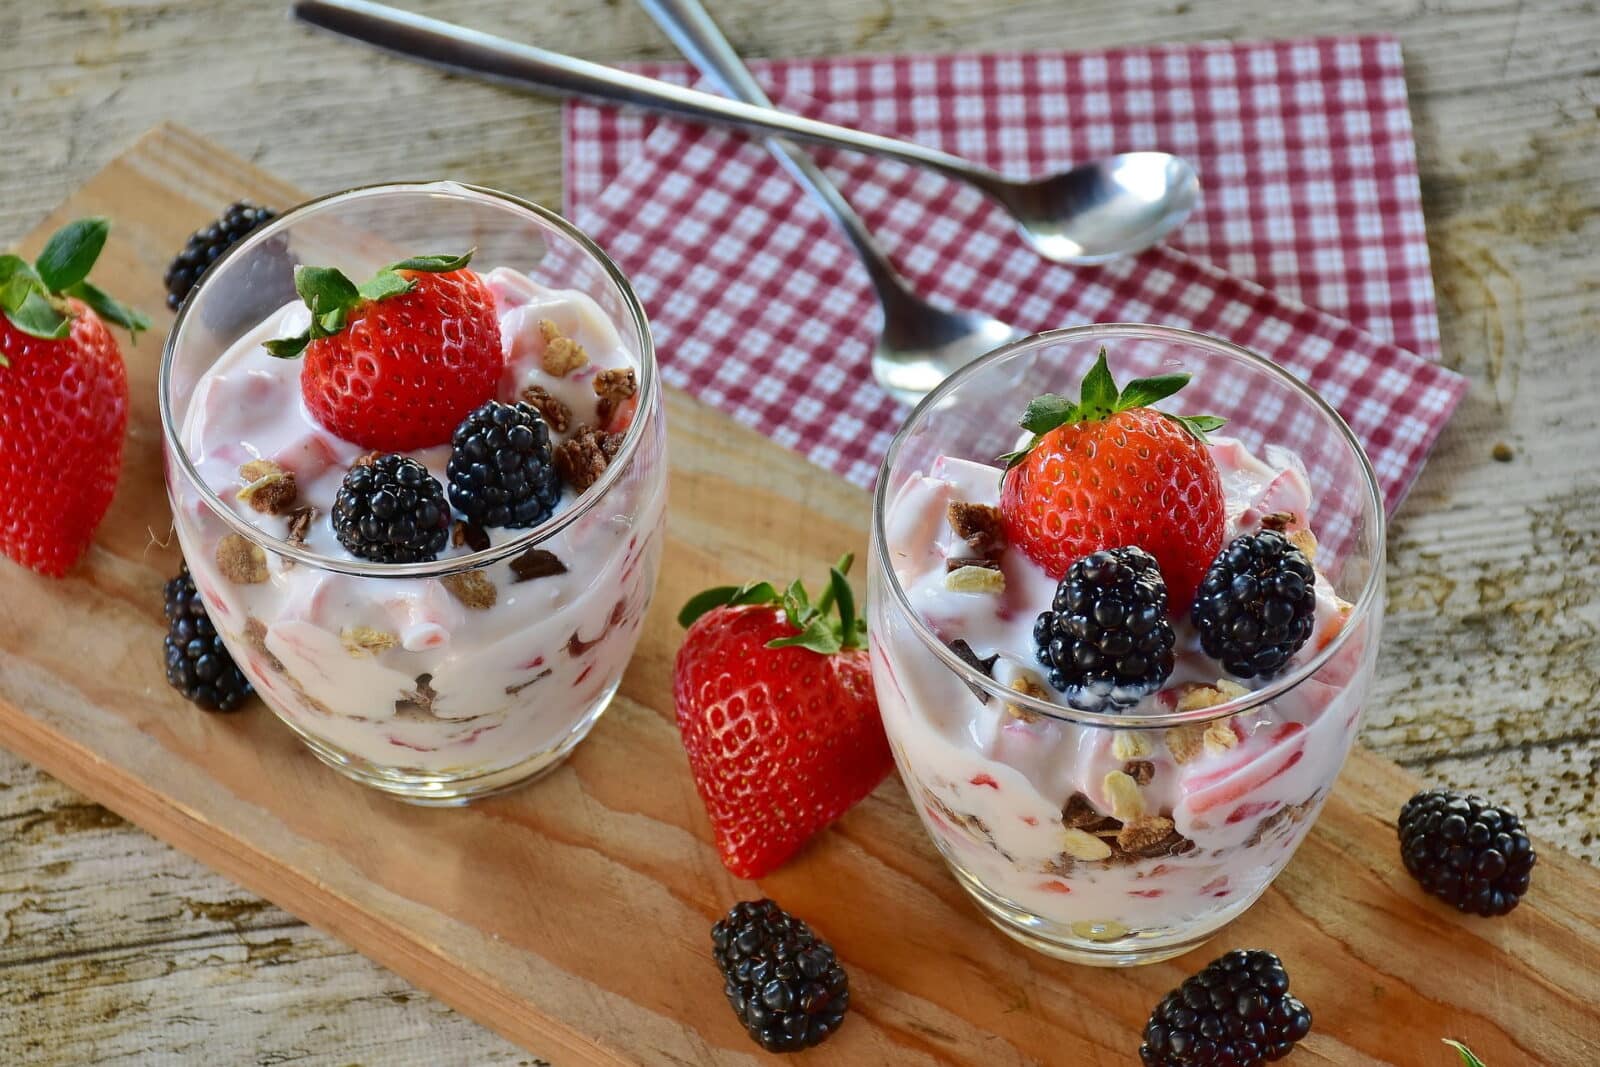
- Use plain on granola or muesli for breakfast
- Top with frozen or fresh berries
- Add the yoghurt to thick, fruity jam (always add the yoghurt to the jam, it combines better this way)
- Drizzle with honey and serve with roasted figs or other fresh fruit
- Add honey for a little more sweetness or some vanilla
- Make a delicious Indian style lassi with blended fruit
Additional notes:
- UHT whole milk results in firmer yoghurt.
- UHT semi-skimmed milk will result in less firm yoghurt. But you can use semi-skimmed milk and dissolve 2-5 tablespoons of dried skimmed milk powder per 1 litre of milk to give a thicker yoghurt.
- Pasteurised whole milk will give a creamier yogurt with a little skin on the top. If you are using pasteurised whole (or semi-skimmed/skimmed) milk, you should boil it first. Allow to cool to hand-hot (36°C) temperature and then strain through a fine sieve to remove any skin before used for yogurt making. For a thicker yoghurt, before the milk is boiled you can add 2-5 tablespoon dried skimmed powdered milk per 1 litre of milk.

ALTERNATIVE STARTERS Instead of the plain, live yoghurt you can also use specialised starters that you can buy in powdered form from health food shops and online. Surprisingly, you can also use chilli stalks (i.e. the green part that holds the chilli to the plant which you discard) as a yoghurt starter. Chilli stalks contain bacteria lactobacillus and 10-15 chilli stalks in place of a yoghurt or powdered starter work to develop any kind of milk into yoghurt.
















So this can only make half a litre at a time of can you double the quantities to make a litre?
We say the maximum is half a litre because if you double the quantities the yoghurt may not thicken correctly. We have had customers double the quantity and told us that they have had to cook for longer because the yoghurt didn’t thicken as expected.
Hi,
I’ve been experimenting as Paul has but making Greek yogurt with a dried starter. Every time. I get a grainy product which is sour to taste despite variation of the timings. Any advice?
Mike
Hi Mike,
It could be a couple of things – it could be the starter you are using has additives in it, this can affect the consistency and taste of the yoghurt. You could be stirring too vigorously when adding the starter, so make sure you stir it in quite gently.
Thanks. So I have tried just using 400ml. All attempts have come out with runny yoghurt, even after putting in the fridge for 8 hours. Following the instructions to the letter. Using a full fat UHT milk. Tried a dried starter culture and fresh live yoghurt. Tried using extra of the dried starter and the fresh live yoghurt. Tried leaving it for 12 hours and this does not thicken it up much more, if at all. Does not taste too good either. Not terribly unpleasant but far from the nicest yoghurt I have tasted. Spent about £20 so far and could have bought a lot of nice tasting yoghurt for that. While my Sakura is great at making rice, rice pudding, cakes etc I am giving up hope it can actually make yoghurt and certainly not without breaking the bank.
Also all the sites I have checked for information about runny yoghut state to *avoid* UHT as it wont contain the necessary proteins to make good yoghurt, yet you recommend it. Maybe this is the problem?
We say to use UHT milk because usually milk has to be boiled and then cooled to the correct temperature. As UHT has already been boiled to the high temperature it removes this extra step.
In your last e-mail to us, you said that the last try of yoghurt actually tasted nice but it just wasn’t thick enough for your liking. As we are still working on this issue with you, and you said you wanted to try another couple of things we will update this reply once you have tried these. This is because we like to reply to comments with as much information as possible so it helps other customers and readers.
Thanks for the reply. Yes, eventually I realised, I very much do not like the taste of the yoghurt until it has been chilled for at least a few hours (which of course, I did not do with the runny yoghurt I was creating). I did some further research and it appears that all UHT milk is not created equal (possibly because the whey protein, lactoglobulin, is not fully denatured in some UHT treatments). The brand I buy is one of those just not the best for creating yoghurt. But all is not lost. As we discussed in email, I have made some modifications to the recipe and am now using the same UHT milk to make the most amazing tasting, creamy and thick yoghurt in the Sakura. I am also making a full litre at a time. To do so, add 60g of milk powder to the litre of UHT and *mix in very well*. Then for your starter use *just 60g* of a live yogurt (Yeo, the one in the green box works really well). If the milk powder is not mixed in well it can lead to some graininess in the yoghurt. But my biggest surprise was using too much starter yoghurt can cause even worse graininess. I am incubating the yoghurt for the full 12 hours which gives it a very tangy taste. For a less tangy taste, I just incubate for a shorter time. 8 hours seems to give the mildest flavour, but even at 6 hours I find it is usually thick enough to eat (I just find it too mild a flavour then). So, in short, the thickness can be controlled by using more or less milk powder, and the taste, by incubating for shorter or longer periods. And always, use just 60g of the starter yoghurt to ensure a smooth and creamy yoghurt. The Sakura is amazing 🙂
Hi
I just wanted to drop a message to say that we too have been having issues with the yoghurt’s thickness and quantity produced when using the quantities described in the original recipe.
I tried your suggestion last night and have to say that I’ve been pleasantly surprised~ I will be noting this down for sure.
Thank you for sharing 🙂
Dear Paul
I tried making yoghurt with 1 L of whole fat UHT milk and 60g (or 4 tablespoons) of Yeo Valley starter yoghurt. I did not add any milk powder, and set it for 12 hours. It came out tasting EXACTLY like Yeo Valley yoghurt. It was creamy enough (not as creamy as Yeo Valley). I absolutely could not believe it.
Were you successful in generating even more yoghurt using the new yoghurt you created as starter?
Hi MJ, there should be no issue making more yoghurt using the new yoghurt you’ve just made
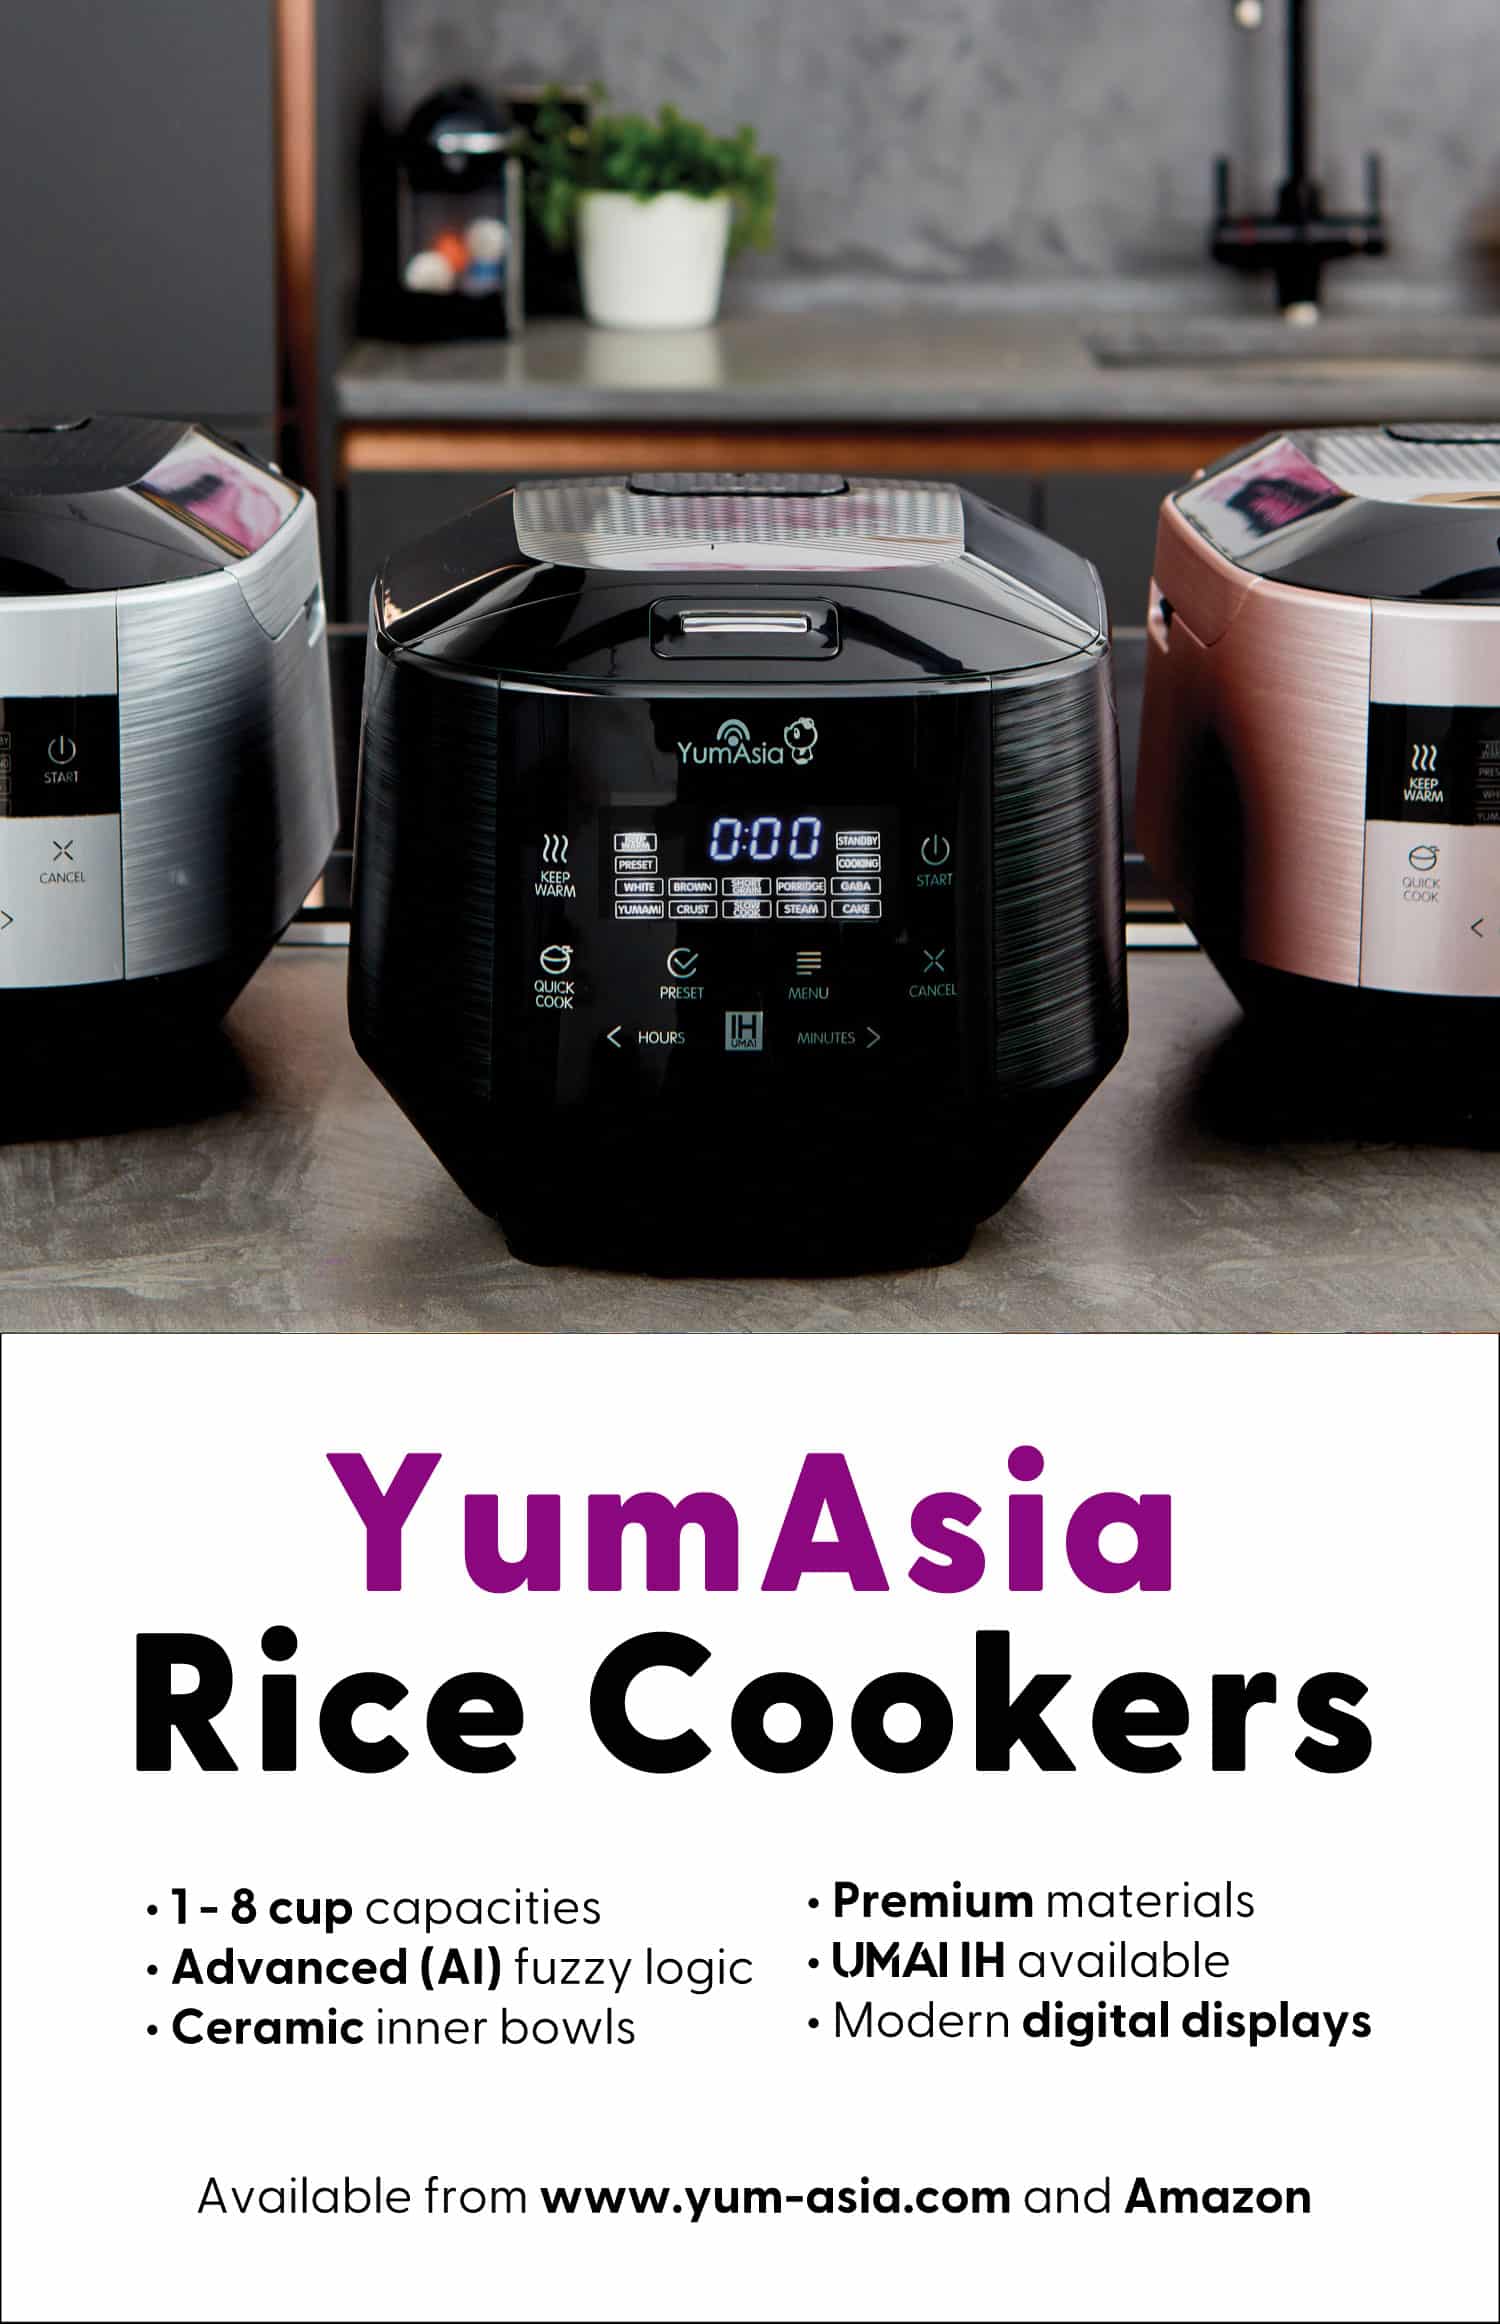
Can’t be made with the YumAsia Panda version ? No YOGHURT button, but maybe we can use another program ?
Hi Pete,
Sorry but no Panda does not have a Yoghurt function and there is no similar function that can perform to make yoghurt due to the very specific temperatures / conditions required.
Hi, just wanted to let you know that the yogurt setting is fantastic in the context of traditional yogurt making. Boil it, cool it to temperature, add cultures, then stick it in the cooker for a while to set.
I’ve never had yogurt set so well! Made about 2 liters with it, and it worked great. I suspect the cooker doesn’t bring large volumes of cold milk up to temperature well, but it’s ace at keeping them there.
Hi !
How to make Greek style yogurt ?
Thks in advance
Yves
Hi yves poher, you can use a Greek yoghurt starter and you would have to strain the yoghurt once it’s finished
Can I adjust the heat setting during yogurt function?
Hello,
No sorry you cannot adjust the heat. The cooking phases are pre-programmed for the optimal mking of yoghurt.
Perfect yoghurt!!!! Having read all the comments and suggestions- I now have the best yoghurt I’ve ever eaten (like a Bonne Maman/French yoghurt.
If you’re in the UK-
– 4 tablespooons of M&S ‘Greek Style Live Yoghurt’ (I buy the small pot as I only need the 4 tbspns )
– mixed with 1 Litre of ‘Whole Milk Moo Milk (M&S/Ocado) and
set the rice machine on the yoghurt setting for
12 HOURS.
Refrigerate until cold.
Serve with Passionfruit & Mango coulis-
literally family and friends were blown away: soo good.
Hi! I would like to know if I can make nattō in a Sakura or Fuji cooker, since that needs to be kept at the same temperature as yoghurt while fermenting?
Hi Pernilla, although natto needs the same temperature as yoghurt, it needs a far longer fermentation time. Sakura or Fuji’s yoghurt settings have not been designed to be used for this long, so we would not recommed it.
Hi !
Do you think it is possible to use the function “keep warm” of the Bamboo as the function “yogurt” of the sakura to make some yogurts? In the instruction manual, I cannot find information on the temperature maintened using “keep warm” but it could be close to 40°C.
What do you think?
Thank you,
Matt
Hi Matt, you cannot make yoghurt in Bamboo. The keep warm setting is not suitable at all for this as the sustained temperature to keep rice safe for eating is above 70 degrees Celcius, therefore this is far too hot for making yoghurt. There also isn’t any other setting you can use, yoghurt needs to be made with a very specific temperature range which no other setting has.
Ok, thanks a lot for your prompt responsse.