Assembling sushi

Yields3 Servings
There are some basic techniques to follow to assemble your sushi correctly. For this you will need:
 short grain rice (cooked in a good rice cooker)
 bamboo sushi mat (makisu)
 cling film
 your ingredients
  and toppings
HOSOMAKI ROLL (skinny roll)
1

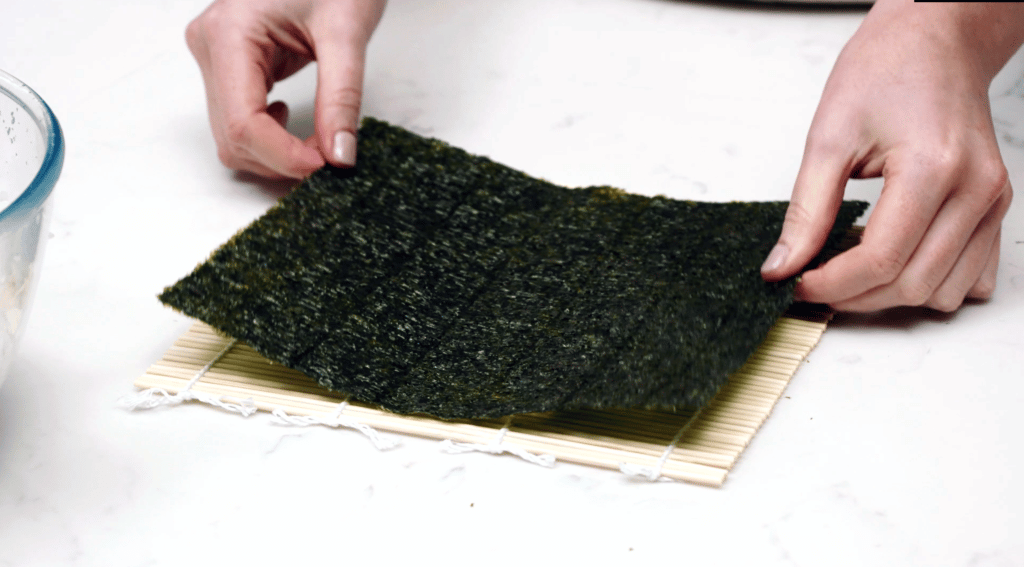
Set up your mat:
Place a sheet of cling film onto your makisu to prevent sticking then place a sheet of nori on top of this. If the nori has a shiny side place it face down.
2

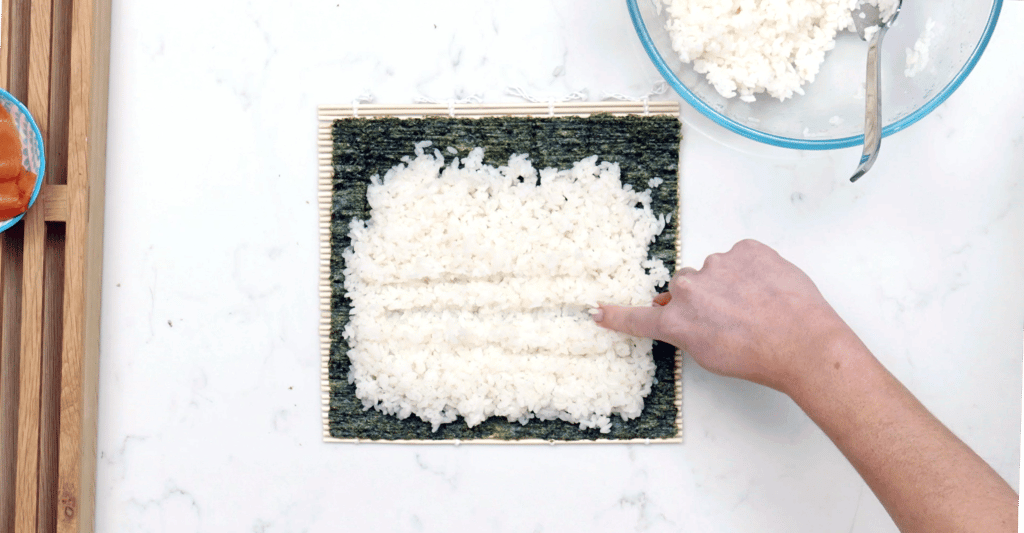
Place Nori/rice:
With damp hands/wet spoon spread some of your cooked short grain rice leaving a small space of nori empty at the top. Make 3 grooves in the centre of the rice for the fillings.
3

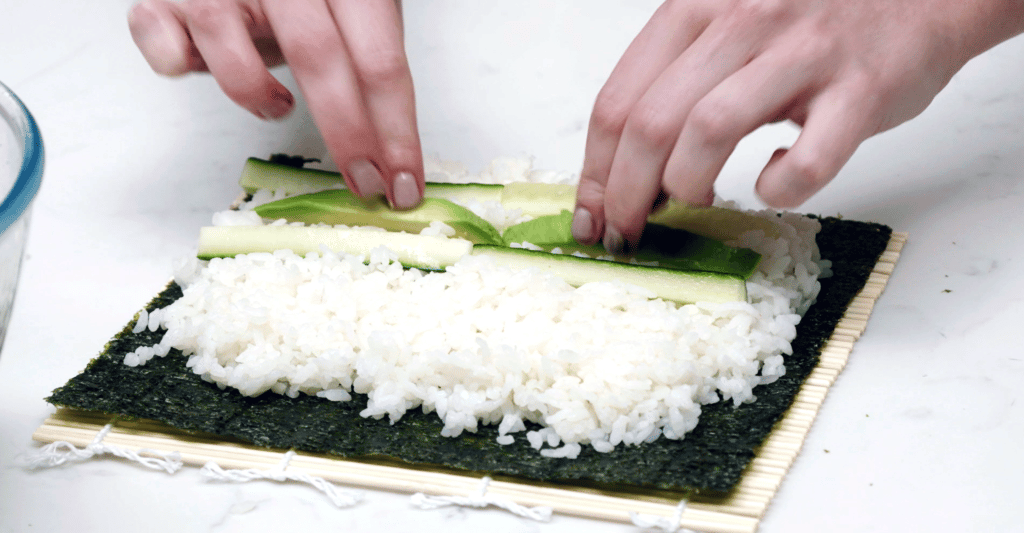
Add fillings:
Place desired fillings into the grooves. The fillings can be varied (listed earlier). Ingredients can be cut into small pieces to fit the roll. For Hosomaki it’s usually just one ingredient as the focus.
4

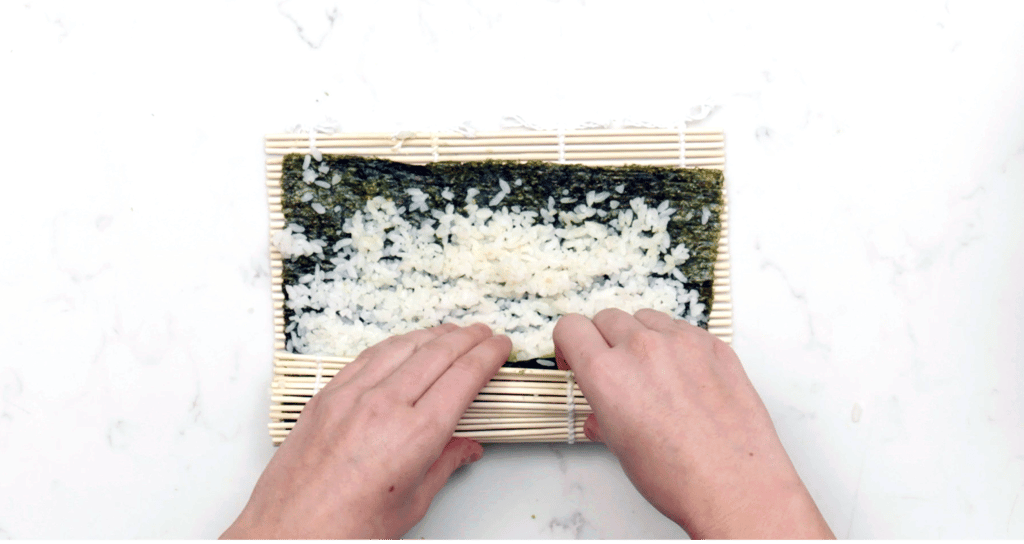
Roll and serve:
Tuck your thumbs under the makisu, hold the ingredients with your fingers, and roll onto the damp seaweed. Give the roll a good squeeze then cut into pieces (usually 6 pieces for Hosomaki).
URAMAKI ROLL (inside out roll)
5

Set up your mat:
Place a sheet of cling film onto your makisu to prevent sticking then place a sheet of nori on top of this. If the nori has a shiny side place it face down.

6

Place nori/rice:
With damp hands or wet spoon spread some of the cooked short grain rice and spread it edge to edge. Optionally sprinkle sesame seeds for decoration and flip over.
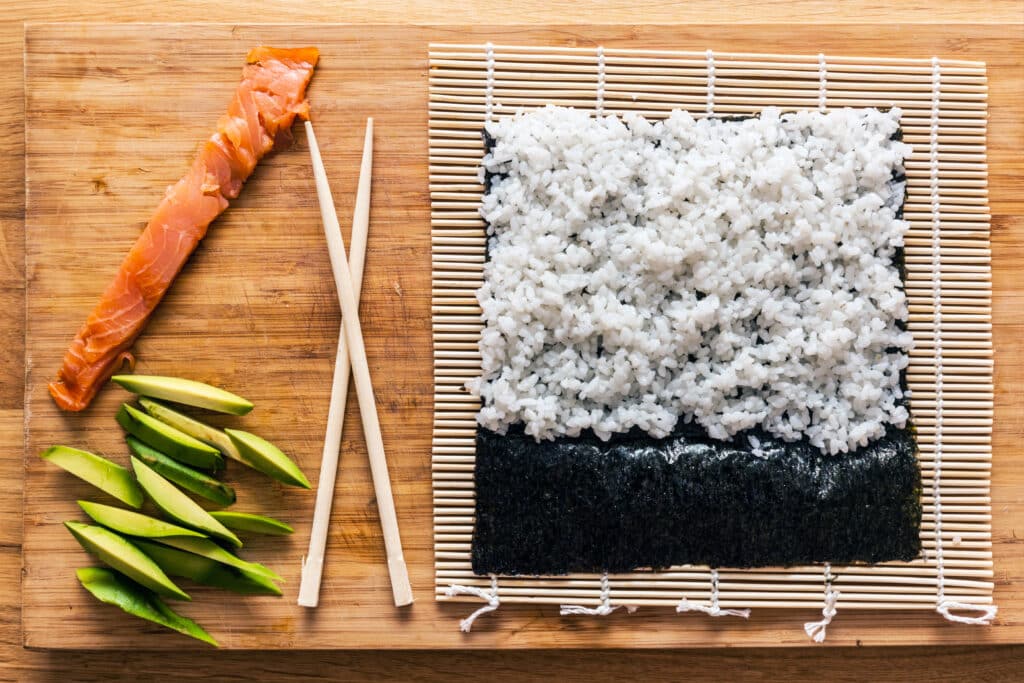
uramakisushi2

7

Add fillings:
You can now place the ingredients along the centre line of the nori. Tuck your thumbs underneath the makisu and place your fingers on the opposite side of the ingredients.
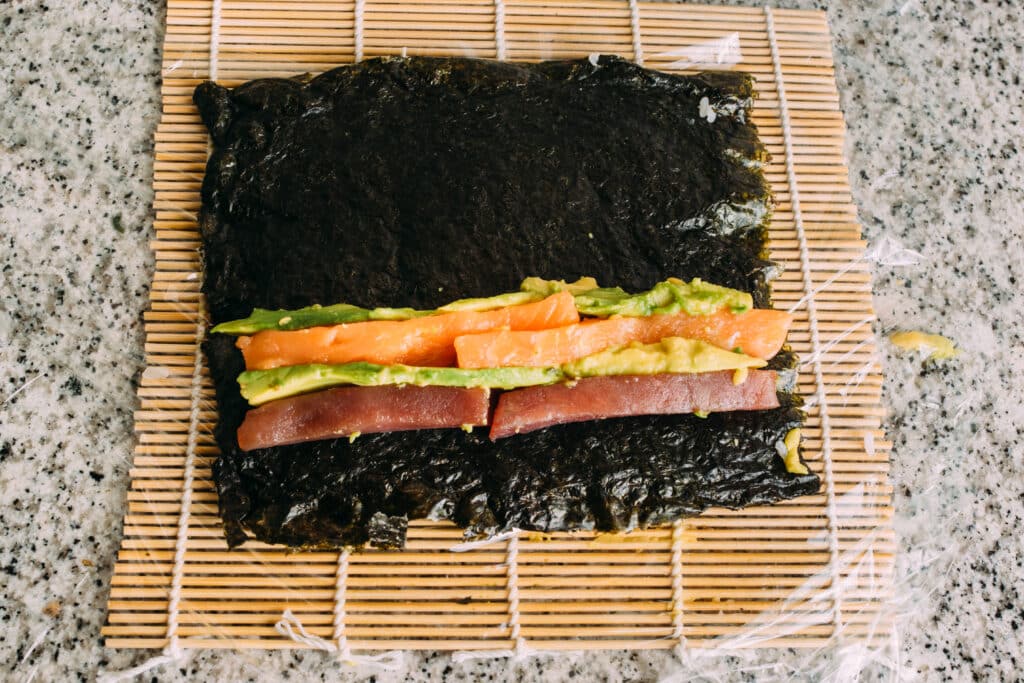
uramakisushi3

8

Roll and serve:
Roll your mat and nori towards your fingers and apply pressure. Grip the masiku and continue to pull it away from you. Usually for one nori sheet you cut into 8 pieces.
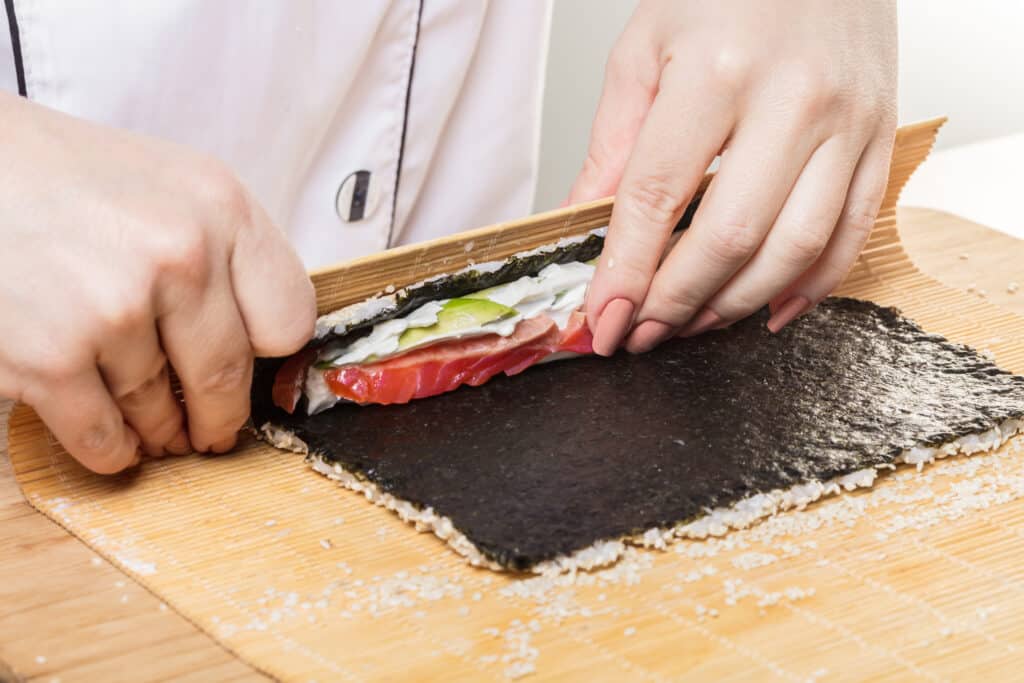
Chef prepares rolls, hands closeup

Ingredients

There are some basic techniques to follow to assemble your sushi correctly. For this you will need:
 short grain rice (cooked in a good rice cooker)
 bamboo sushi mat (makisu)
 cling film
 your ingredients
  and toppings

Directions

HOSOMAKI ROLL (skinny roll)
1

Set up your mat:
Place a sheet of cling film onto your makisu to prevent sticking then place a sheet of nori on top of this. If the nori has a shiny side place it face down.

2

Place Nori/rice:
With damp hands/wet spoon spread some of your cooked short grain rice leaving a small space of nori empty at the top. Make 3 grooves in the centre of the rice for the fillings.

3

Add fillings:
Place desired fillings into the grooves. The fillings can be varied (listed earlier). Ingredients can be cut into small pieces to fit the roll. For Hosomaki it’s usually just one ingredient as the focus.

4

Roll and serve:
Tuck your thumbs under the makisu, hold the ingredients with your fingers, and roll onto the damp seaweed. Give the roll a good squeeze then cut into pieces (usually 6 pieces for Hosomaki).

URAMAKI ROLL (inside out roll)
5

Set up your mat:
Place a sheet of cling film onto your makisu to prevent sticking then place a sheet of nori on top of this. If the nori has a shiny side place it face down.

6

Place nori/rice:
With damp hands or wet spoon spread some of the cooked short grain rice and spread it edge to edge. Optionally sprinkle sesame seeds for decoration and flip over.

uramakisushi2

7

Add fillings:
You can now place the ingredients along the centre line of the nori. Tuck your thumbs underneath the makisu and place your fingers on the opposite side of the ingredients.

uramakisushi3

8

Roll and serve:
Roll your mat and nori towards your fingers and apply pressure. Grip the masiku and continue to pull it away from you. Usually for one nori sheet you cut into 8 pieces.

Chef prepares rolls, hands closeup

Assembling sushi